Fire Resistance
Simplifying area separation wall challenges
Best practices for solving area separation wall design challenges for stepped roofs and cantilevered sections
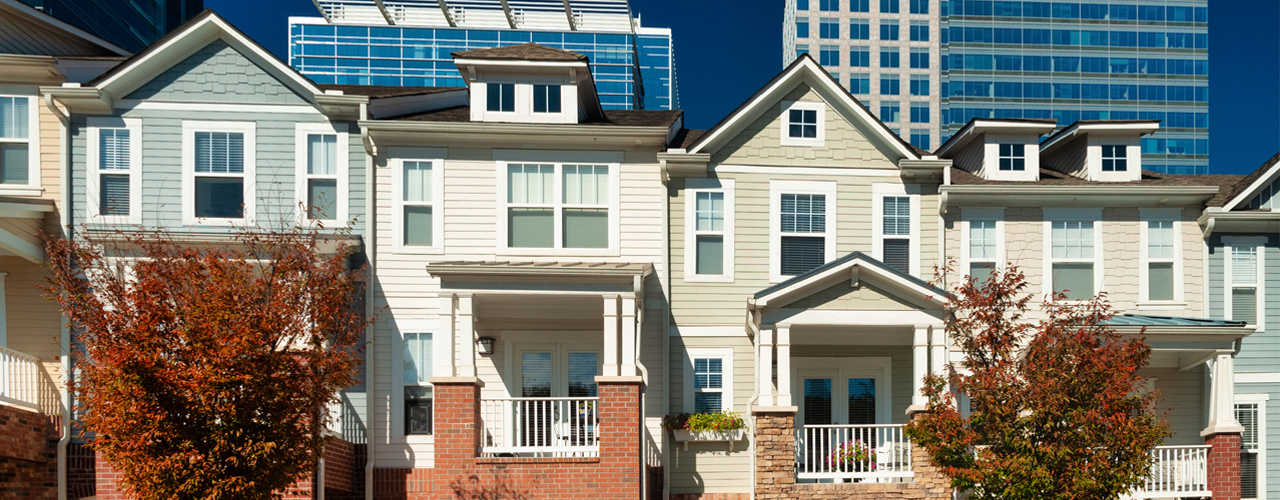
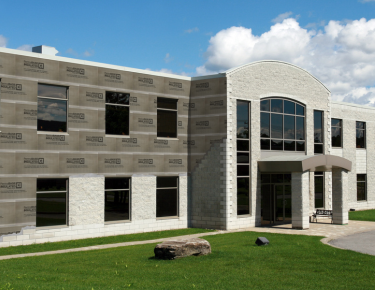
Architects often design buildings with stepped roofs and cantilevered overhangs to create visual rhythm and break away from the monotony of box-like structures. These design elements add dimension and character to apartment buildings and townhome communities, making them more visually appealing and architecturally distinctive.
Stepped roofs and cantilevered overhangs present unique challenges for designing and constructing area separation walls — an essential multifamily construction fire-safety feature.
In this article, Krista Karlson, construction services manager with the 1-800-NATIONAL® Construction Services team, presents solutions for both of these architectural features as detailed in The Wood Book™.
Designing area separation walls for stepped roofs
Stepped roofs are a popular design feature in multifamily townhomes, adding architectural interest by breaking up long, continuous rooflines.
Continue the 2-hour area separation wall up to the roof sheathing of the taller unit. Your contractor will thank you as it streamlines the gypsum products needed on the worksite.
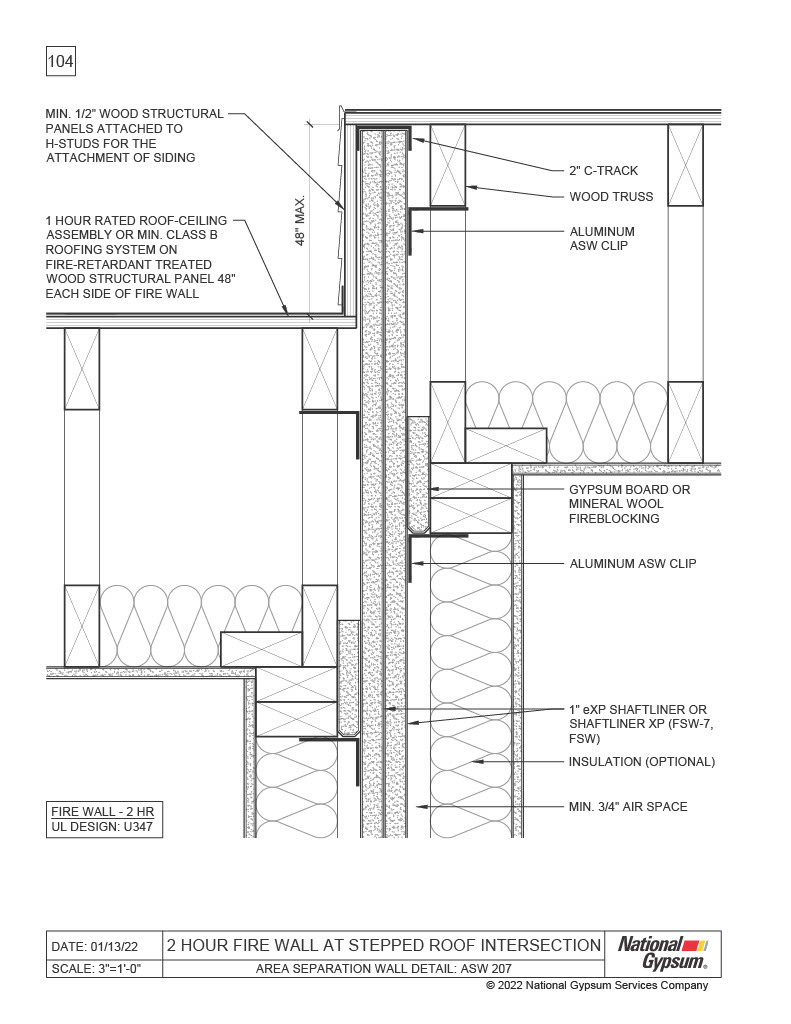 Page 104 in The Wood Book
Resource alert: Find area separation roof details in The Wood Book: 2-hour designs for use with UL design U347 on pages 98-117 and 3-hour design for use with UL design W454 on pages 119-132.
The design of the area separation wall also depends on the height of the step
- Steps less than 48": Framing is required on only one side of the extension. Plywood or OSB wood structural panels can be attached directly to the H-studs of the area separation wall system for the attachment of the water-resistive barrier and cladding.
- Steps greater than 48": A flanking wall is required to be built on the outside of the taller unit, effectively treating it like another floor.
The same rules apply for horizontal offsets (find design details on pages 107 and 126 of The Wood Book) where one unit extends in front of another. If the extension is more than 48", a flanking wall is recommended on the outside of the longer unit.
Using area separation walls in cantilevered overhangs
Upper-floor cantilevered overhangs are another common architectural feature that can complicate area separation wall design. The main challenge is supporting the overhang and transferring gravity loads without compromising the area separation wall’s structural integrity.
To ensure the wall framing is supported, Karlson deploys basic geometry to turn the H-stud framing from a series of rectangles into triangles using a diagonal steel strap. Unlike other polygons, a triangle's fixed shape under pressure ensures forces are converted to axial tension and compression, rather than rotational forces that would cause other shapes to flatten or collapse.
“To prevent the wall framing from racking — or shifting from a rectangle to a parallelogram — we use a diagonal steel strap in tension to prevent the wall from sagging,” Karlson says.
Preventing sagging isn’t just about aesthetics. It could compromise the wall’s fire resistance by creating gaps between the framing and the gypsum shaftliner panels.
The solution for cantilevered overhangs includes 3 key components
- Diagonal bracing: Diagonal bracing is required on each side of the framing and consists of a 2", 25-gauge steel track screwed to each stud and the C-track at the top. This turns the rectangular sections into rigid triangles, which prevents sagging and helps the wall maintain its shape.
- Continuous cantilevered C-track: The top C-track of the cantilevered section should be a continuous piece extending past the lower level, up to 2' to 3', depending on the detail you use.
- Aesthetic panel: Because the area separation wall C-tracks are typically located above the floor line, higher than the soffit, a separate panel can be attached below the main cantilevered C-track to maintain the rating at the soffit.
 Page 133 in The Wood Book
This horizontal cantilever can be used anywhere within the maximum height of the area separation wall system: 66' for 2-hour walls and 70' for 3-hour walls.
Resource alert: Find 2-hour and 3-hour area separation wall cantilever details on pages 133–134 of The Wood Book for use with UL designs U347 and W454.
Best practices and common pitfalls related to area separation wall construction
To avoid costly mistakes and ensure a successful area separation wall installation, it’s important to follow some general best practices:
- Read and follow installation guides and watch installation videos, available in English and Spanish.
- Do not install H-studs horizontally. This is a common and serious error that can be expensive to fix.
- Do not compromise the structural independence of the area separation wall by mechanically fastening it to the wood framing on either side with nail guns. The area separation wall is designed to be attached only with special aluminum clips that burn away in a fire, allowing the wall to remain standing if an adjacent building collapses. Nailing the wall to the wood framing defeats this critical safety feature.
Technical support and products provided by National Gypsum Company
From installation videos and products to three-part-guide specs and UL evaluation reports, visit the area separation wall resources page for a comprehensive library of technical support materials. And if you need live assistance, call the 1-800-NATIONAL Construction Services team.
Be the first to hear of new NGConnects Blog posts by subscribing here for early access.